What Are Common Mistakes When Patching Walls? (And How to Avoid Them)
- Eric Rivas
- Apr 22
- 3 min read

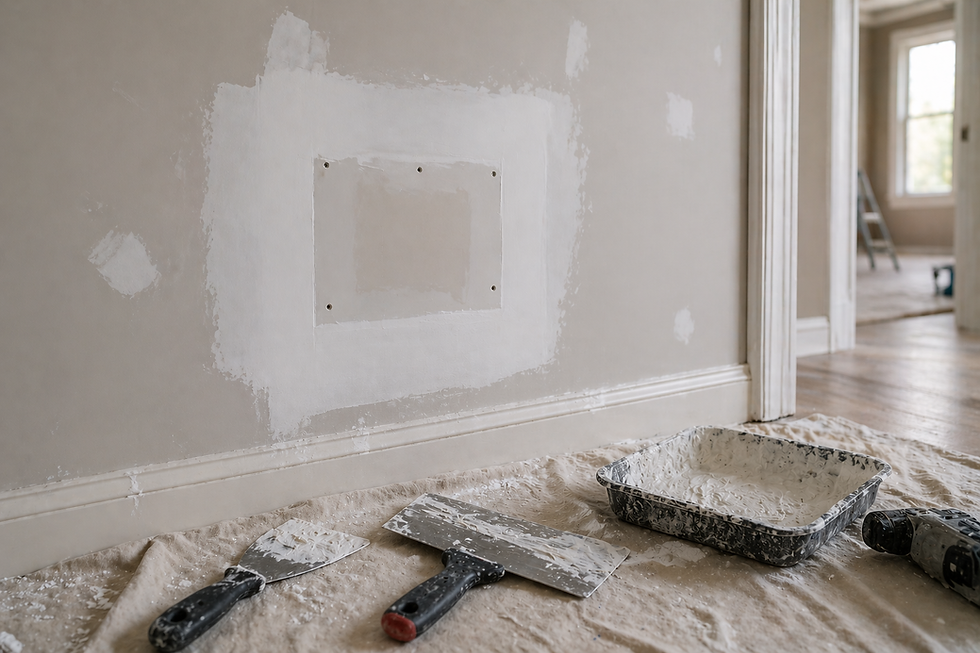
Patching drywall might seem simple at first—but getting a smooth, seamless finish is harder than it looks. At DMH Drywall, we’ve seen plenty of DIY repairs that started with good intentions but ended up needing professional correction. If you want your walls to look like new, avoiding these common mistakes is key.
1. Taking on More Than You Can Handle
One of the biggest mistakes is trying to tackle large or complex patches alone. Bigger holes, ceiling repairs, or damaged areas around corners require proper support, tools, and technique. Without that, the patch can crack, sag, or stand out.
Pro Tip: Small nail holes are DIY-friendly—but anything larger usually benefits from professional help.
2. Over-Sanding the Surface
Sanding is essential for a smooth finish—but too much of it can ruin your patch. Over-sanding can create dips, uneven textures, or even expose the patch underneath.
Pro Tip: Light, even sanding between coats is the way to go.
3. Improper Fastening
Whether you’re securing new drywall or patch material, incorrect fastening can lead to long-term issues. Screws that are too deep can break the paper surface, while screws that are too shallow can cause bulging.
Pro Tip: Fasteners should sit just below the surface—without tearing the drywall paper.
4. Poor Fit Around the Patch
Trying to force a patch into a space that doesn’t fit properly is a common issue. Gaps around the edges can lead to weak joints and visible seams after finishing.
Pro Tip: Always cut your patch cleanly and ensure a snug, precise fit.
5. Placing Joints in Problem Areas
Drywall joints placed near high-movement areas—like door frames, windows, or structural transitions—are more likely to crack over time.
Pro Tip: Strategic placement of seams helps maintain durability and a clean finish.
6. Using Too Much Joint Compound
More isn’t always better. Applying too much mud can create heavy buildup, extend drying times, and make sanding much more difficult.
Pro Tip: Multiple thin layers produce a smoother, more professional result than one thick coat.
7. Skipping Prep and Protection
Not protecting your floors, furniture, and surrounding areas can lead to unnecessary mess and damage. Drywall dust spreads quickly and can be difficult to clean.
Pro Tip: Cover nearby surfaces and properly prep the area before starting any repair.
8. Rushing the Process
Drywall repair takes patience. Skipping drying time between coats or rushing through steps often leads to cracking, shrinking, or visible imperfections.
Pro Tip: Allow each layer to fully dry before sanding and applying the next coat.
Why Professional Drywall Repair Makes a Difference
The difference between a noticeable patch and a flawless wall often comes down to experience. At DMH Drywall, we know how to properly prep, patch, texture, and finish surfaces so repairs blend in seamlessly with the rest of your wall.
If you want to avoid the frustration—and get results that actually last—hiring a company like ours is the smartest move. We handle everything from small repairs to full wall restoration with precision and care.
Final Thoughts
Patching drywall may seem straightforward, but the smallest mistakes can stand out in a big way once the job is done. By avoiding these common issues—or bringing in professionals—you can ensure your walls look clean, smooth, and like the damage was never there.
If you’re dealing with wall damage and want it done right the first time, contact us to help. Reach out today and let our team restore your walls to perfection.


Comments